

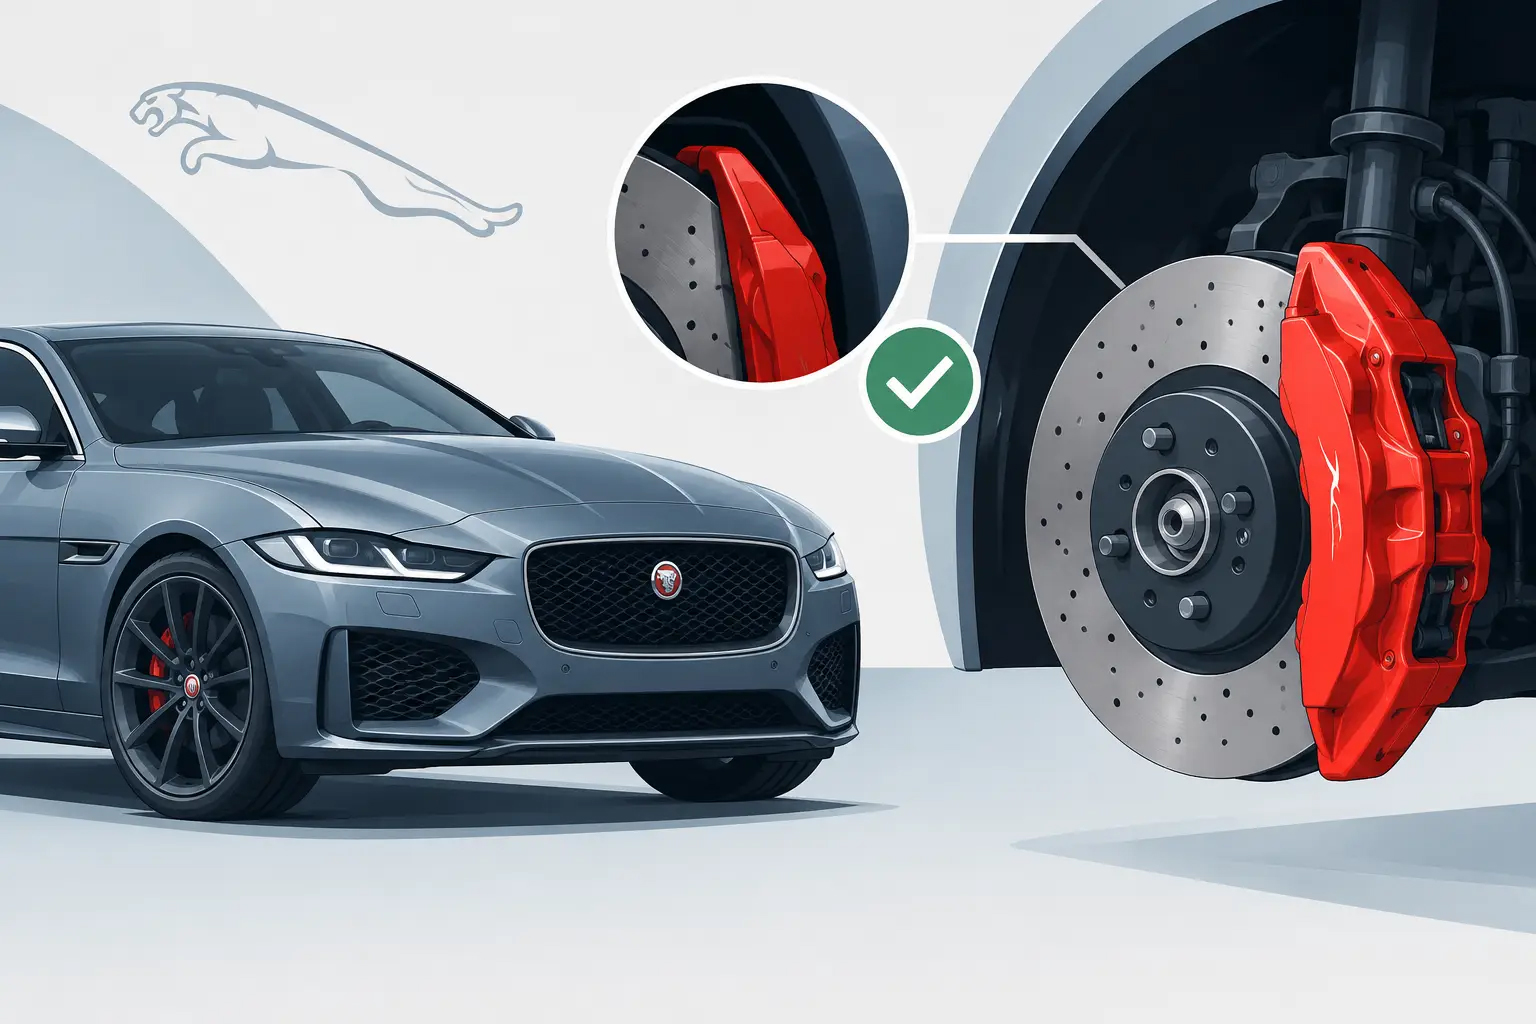
A brake upgrade can look perfect behind the wheel and still be unsafe at speed. A Jaguar caliper fitment example is not simply proof that a caliper bolts to the knuckle. It is evidence that the caliper, rotor, mounting bracket, wheel, brake line, hub, and electronic systems operate as one engineered assembly under real braking load.
For Jaguar owners, performance workshops, and distributors, this distinction matters. Premium Jaguar platforms carry substantial vehicle mass, powerful engines, and large wheel packages. During repeated high-speed stops, an incorrectly specified caliper conversion can create uneven pad contact, insufficient wheel clearance, poor pedal feel, accelerated component wear, or an unexpected brake-bias change. A vehicle-specific system must solve all of those issues before it reaches the road or track.
Jaguar Caliper Fitment Example: The Starting Point
Consider a representative front-axle upgrade for a performance-oriented Jaguar running factory-style 20-inch wheels. The objective is to install a racing-grade six-piston monobloc caliper with a two-piece carbon ceramic rotor, while retaining reliable daily-driving manners and the vehicle's factory electronic safety functions.
The first check is not caliper color, piston count, or advertised rotor diameter. It is the wheel envelope. The wheel must clear the caliper body radially and axially, including the outer bridge, bleed screws, crossover hardware, and the wheel barrel's internal profile. Two wheels with the same nominal 20-inch diameter can have very different spoke geometry. One may clear a large caliper easily; the other may contact the caliper face even when the diameter appears sufficient.
A proper fitment example therefore begins with a wheel template or a three-dimensional scan. The template confirms clearance at the closest spoke, the barrel, and the wheel-balancing area. Clearance needs to account for wheel flex, suspension travel, manufacturing variation, and accumulated debris. A static fit with only a paper-thin gap is not acceptable for a vehicle expected to brake hard at highway or track speeds.
Rotor Diameter Must Match the Caliper Position
The next requirement is rotor geometry. A larger rotor increases the braking lever arm, but diameter alone does not determine performance. The caliper must be positioned so the pad sweeps the designed friction path without overhanging the rotor's outer edge or running too close to the hat section.
In this Jaguar caliper fitment example, a 400 mm front carbon ceramic rotor may be selected only if the caliper bracket places the caliper centerline precisely over that rotor. The bracket is not a simple spacer. It establishes radial position, axial offset, bolt alignment, and load transfer between the upright and caliper. Its material, machining accuracy, fastener specification, and surface finish all affect reliability.
Rotor offset is equally critical. The rotor friction faces must sit correctly between the caliper halves so both pads engage evenly. If the rotor is shifted inward or outward, one pad may drag, taper wear can develop, and piston extension may differ from side to side. Those symptoms are often blamed on the caliper, when the actual problem is incorrect hat offset or bracket geometry.
Caliper Fitment Is a System, Not a Bolt Pattern
Jaguar applications vary significantly by platform, model year, drivetrain, upright design, hub flange height, parking-brake configuration, and original brake package. A caliper that physically shares a mounting-bolt spacing with another model is not automatically compatible. Workshop teams should confirm the vehicle identification details and the existing front and rear brake specifications before selecting hardware.
A complete fitment review should verify at least these points:
- upright mounting-hole diameter, spacing, thread condition, and mounting-face flatness
- rotor diameter, thickness, offset, center bore, hat design, and friction-ring direction
- wheel diameter, spoke clearance, barrel clearance, offset, and installed wheel weights
- brake-line connection type, line routing, suspension movement, and full-lock clearance
- pad compound, piston area, master-cylinder compatibility, and front-to-rear brake balance
These checks are connected. For example, increasing front caliper piston area can increase clamp force at a given line pressure, but it can also alter pedal travel and shift brake bias forward. A forward-biased system may feel aggressive in the first stop yet reduce rear contribution and make threshold braking less stable. The correct answer depends on vehicle weight distribution, tire specification, intended use, and the rear brake configuration.
Carbon Ceramic Rotor Considerations
Carbon ceramic braking systems offer meaningful advantages for demanding Jaguar applications: lower unsprung and rotating mass, strong resistance to heat-related fade, corrosion resistance, and long service life when matched to the correct pad and operating conditions. They are not a universal shortcut.
A carbon ceramic rotor requires a compatible caliper, pad shape, pad material, and mounting arrangement. The rotor's thermal behavior differs from cast iron, and the system must be designed around that behavior rather than assembled from unrelated components. Pad selection influences cold response, noise, dust, disc wear, and high-temperature stability. A track-focused compound may tolerate repeated severe braking but produce more noise or require more temperature for its best response on the street.
The rotor attachment method also deserves attention. A floating two-piece construction can manage thermal expansion more effectively than a rigid arrangement, but the bobbins, drive pins, or floating hardware must be correctly specified and maintained. Directional discs must be installed on the correct side of the vehicle. Reversing them can compromise cooling airflow and reduce the thermal capacity that justified the upgrade in the first place.
Installation Details That Protect Performance
Even a vehicle-specific kit depends on disciplined installation. The mounting faces on the upright and hub should be clean, corrosion-free, and checked for damage before parts are installed. Debris trapped behind a rotor hat can create runout. Excessive runout may lead to pedal pulsation, uneven pad deposits, and inconsistent braking feel.
Fasteners should be tightened to the manufacturer-specified torque using the required locking method. Over-torquing can damage threads or distort components; under-torquing risks movement under load. Brake lines must be routed without tension and checked through full steering lock and suspension travel. A line that appears clear with the vehicle on a lift may contact the tire, wheel, or suspension arm once the suspension is loaded.
Bleeding is more than removing visible air. The caliper must be oriented and bled according to its internal fluid path, especially on multi-piston designs with separate inner and outer circuits. A firm pedal after installation is necessary, but it is not the final confirmation. The vehicle should receive a controlled bedding procedure that transfers an even friction layer to the rotor and allows the technician to assess noise, pull, pedal consistency, and temperature behavior.
What a Credible Fitment Package Includes
Professional buyers should be cautious when a caliper is sold as a universal upgrade with no vehicle-specific documentation. A credible Jaguar brake package identifies its intended axle and platform, rotor dimensions, wheel-clearance requirements, caliper mounting method, compatible pad shape, line configuration, and installation hardware.
It should also be supported by manufacturing discipline. CCYS controls 90% of production in-house, from development and precision machining through quality management, allowing component interfaces to be engineered as a system rather than sourced as disconnected parts. IATF 16949 and ISO 9001 quality processes provide additional confidence for workshops and distributors that need repeatable fitment, not one-off experimentation.
The best caliper fitment example is the one that prevents surprises after the vehicle leaves the workshop. Confirm the exact Jaguar application, inspect the wheel envelope, match the rotor and bracket geometry, and treat brake balance as seriously as stopping power. When those decisions are made before installation, the result is braking confidence that remains available when the road, speed, and temperature demand it most.