

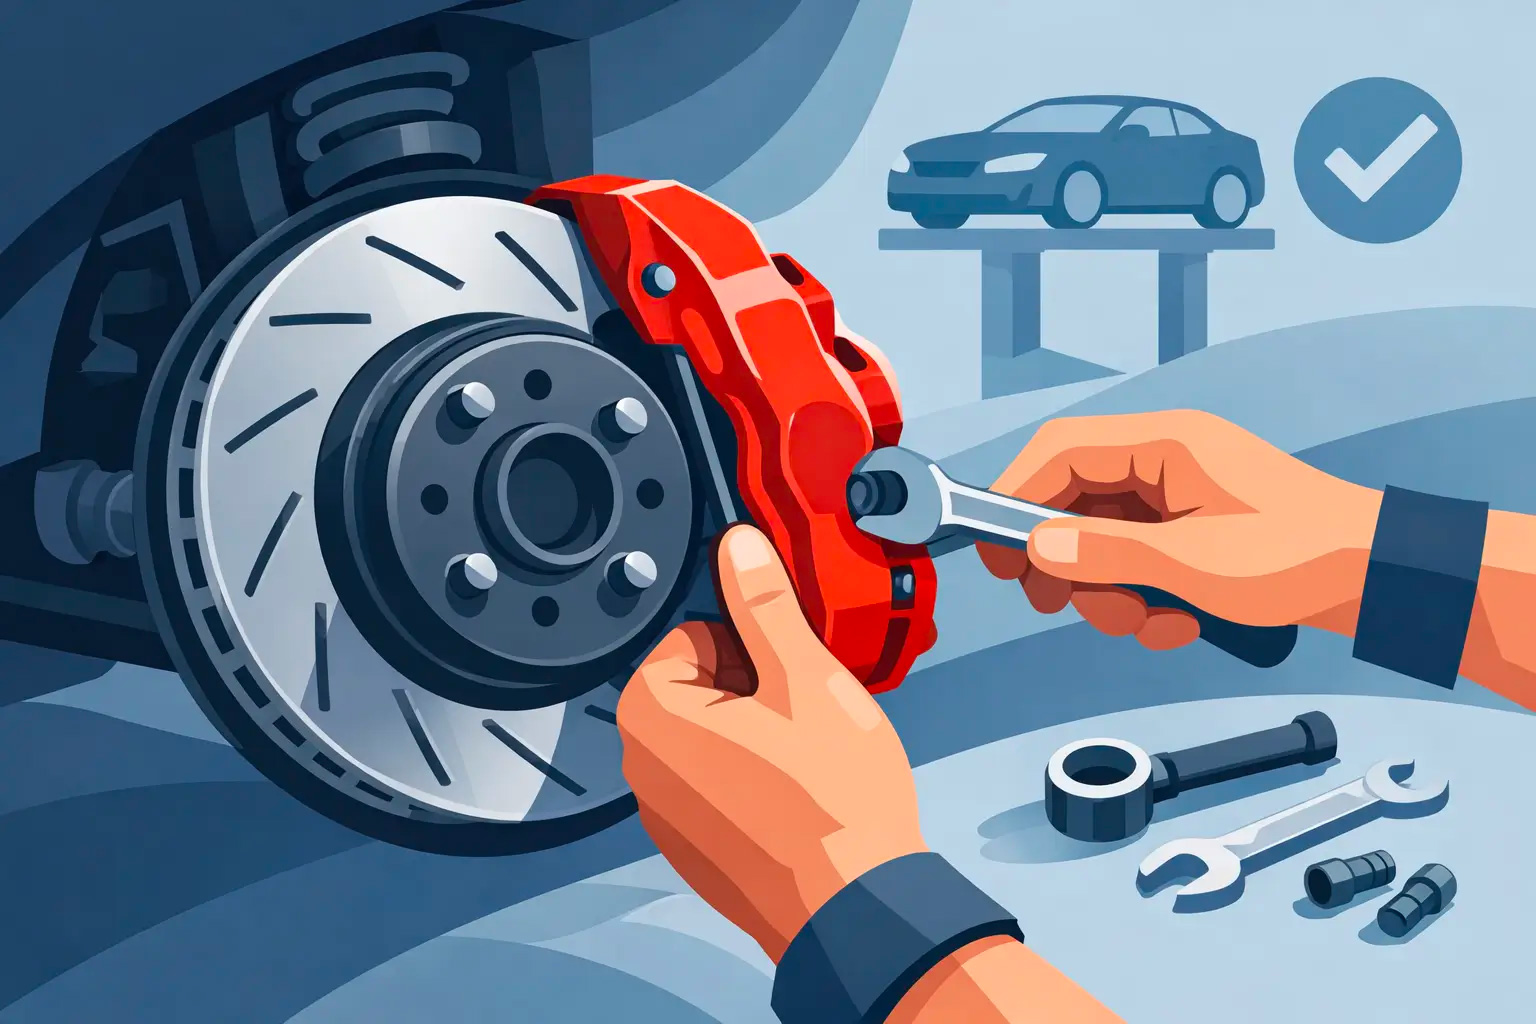
A brake pedal that goes long at the end of a hard stop is not a minor inconvenience. On a fast road, mountain descent, heavy vehicle, or track session, it is the warning that braking heat, hydraulic pressure, or component control is no longer where it needs to be. Installing performance brake calipers is therefore not a cosmetic upgrade job. It is a safety-critical system installation that determines whether racing-grade hardware delivers the control it was engineered to provide.
A properly specified performance brake kit can improve pedal consistency, thermal capacity, clamping stability, and, in carbon ceramic applications, reduce unsprung and rotating weight. Those gains only arrive when every interface - caliper, rotor, bracket, hose, pad, wheel, and hydraulic circuit - is installed and verified as one system.
Start With a Vehicle-Specific Brake System
Performance calipers should not be selected by piston count or appearance alone. The caliper must match the vehicle’s mounting geometry, rotor diameter and thickness, pad sweep, wheel clearance, master-cylinder capacity, ABS strategy, and intended use. A six-piston monobloc caliper paired with the wrong rotor offset or bracket can create pad overhang, poor rotor sweep, interference, or uneven loading.
Complete kits remove much of this risk because their brackets, discs, hats, hardware, pads, and brake lines are engineered around a defined vehicle application. This matters on premium platforms such as Porsche, Tesla, BMW, Jaguar, Land Rover, Toyota Supra, Nissan GT-R, Defender, and modified supercars, where wheel design, electronic brake functions, and factory packaging can vary significantly.
Before the vehicle enters the bay, confirm the exact chassis, model year, drivetrain, factory brake specification, wheel size, and aftermarket wheel profile. A kit that fits behind one 19-inch wheel may not clear another 19-inch wheel with a different spoke barrel. Never assume nominal wheel diameter guarantees clearance.
Prepare the Work Area and Inspect the Existing Hardware
Raise and support the vehicle using approved lift points. Keep the steering centered initially, remove the wheels, and inspect the hub faces, wheel bearings, brake hoses, suspension joints, and mounting threads. Performance brakes place high loads into the upright and hub assembly. A worn wheel bearing, damaged thread, or corroded mounting face can compromise an otherwise precise installation.
Clean the hub face until it is free of rust scale, burrs, old anti-seize buildup, and debris. Rotor runout often begins at this contact surface, not in the rotor itself. Use a dial indicator when the installation specification calls for it, particularly on high-value carbon ceramic discs where correct seating protects both performance and service life.
If the original brake hose is being replaced, inspect its routing before removal. Photograph the factory path and note every retaining clip. A braided line that looks clean at full lock can still stretch, kink, or contact the tire during suspension travel. The line must move freely from lock to lock without rubbing the wheel, spring, control arm, or bodywork.
Installing Performance Brake Calipers: The Critical Steps
Follow the kit-specific technical documentation as the controlling authority. Torque values, fastener treatment, rotor direction, washer placement, and bleed sequence differ by application. Do not substitute generic torque figures or reuse fasteners if the manufacturer specifies new hardware.
Install the rotor, bell, or hat assembly with the correct orientation. Directional rotor vanes must lead cooling air through the disc as designed, while slotted or drilled faces must also follow the supplier’s specified direction. On a two-piece system, verify that the rotor-to-hat hardware is present, correctly torqued, and installed with any required locking method.
Mount the caliper bracket or adapter to a clean upright using the designated fasteners. Torque in stages to specification. Then install the caliper and confirm its position over the rotor before fitting pads. The rotor should sit centrally within the caliper window, with the pad friction material fully sweeping the intended disc surface. A small amount of designed-in clearance is normal; a visibly off-center rotor is not.
Check the following before moving forward:
- The caliper clears the rotor, wheel barrel, spokes, suspension, and steering components.
- The pads cover the proper rotor track without extending beyond the disc edge.
- The bleed screws face upward. If they face downward, air cannot be fully removed from the caliper.
- The brake line enters without twist and has adequate movement through steering and suspension travel.
The upper bleed-screw check catches a surprisingly common error when left and right calipers are installed on the wrong sides. A caliper can bolt on and still be impossible to bleed correctly.
Torque Is an Engineering Requirement, Not a Feel
Use a calibrated torque wrench for brackets, caliper fasteners, rotor hardware, line fittings, and wheel bolts or lug nuts. Over-torque can distort components, damage threads, or overload aluminum mounting points. Under-torque can permit movement that becomes dangerous under repeated heavy braking.
Where thread locker is specified, apply only the stated amount to clean, dry threads. More compound does not create more security. It can alter torque behavior and make later inspection difficult. Record final torque values on the job card, especially for workshop builds, distributor installations, and track-focused customer vehicles.
Build a Clean, Firm Hydraulic Circuit
Open the hydraulic system only with the correct brake fluid ready. Use the fluid grade specified for the vehicle and the intended temperature range. A high-performance brake system is only as reliable as the fluid behind it; old fluid with absorbed moisture can boil long before the caliper reaches its capability.
Bleed the system using the vehicle manufacturer’s required process and any brake-kit instructions. Some vehicles with electronically controlled braking, brake-by-wire functions, or advanced ABS systems require a scan tool to cycle valves or enter a service mode. Skipping this procedure may leave air trapped in the system, even if the pedal initially feels acceptable.
For multi-bleed calipers, follow the prescribed inner and outer bleed order. Keep the reservoir from running low, use clean fluid, and protect painted surfaces immediately from spills. When bleeding is complete, apply firm pedal pressure and inspect every connection for weeping. Then hold pressure for a sustained period. A pedal that slowly falls, a damp fitting, or a warning light requires correction before the vehicle is driven.
Verify Wheel Clearance and Electronic Functions
Reinstall the wheel with the correct hardware and torque it to specification. Rotate it by hand before lowering the vehicle. Listen and feel for contact. On vehicles with tight spoke profiles, a caliper can clear while stationary yet make contact as the wheel flexes under load. Confirm the supplier’s wheel-clearance template or minimum clearance guidance rather than relying on a visual guess.
With the vehicle safely supported, turn the steering from full lock to full lock and inspect brake-line movement. Once lowered, verify brake pedal operation, parking-brake function where applicable, brake-fluid level, and dashboard warnings. Modern performance vehicles may require an electronic parking-brake service procedure, brake-pad wear sensor transfer, or calibration confirmation.
Bed the Pads and Rotors Before Demanding Full Performance
New pads and rotors need a controlled bedding process to establish a stable transfer layer on the friction surface. This is not an optional final touch. It directly affects bite, pedal consistency, noise, wear behavior, and resistance to judder.
Use the bedding procedure supplied with the kit. In general, the process involves a series of progressively firm stops from moderate speed, with enough cooling time to prevent holding the vehicle at a stop with hot pads clamped against the rotor. Avoid emergency-level stops unless the procedure specifically calls for them, and do not park immediately after a demanding bedding cycle with the brake pedal applied.
Carbon ceramic systems deserve particular discipline. Their benefits include outstanding heat resistance, corrosion resistance, and lower weight, but their friction behavior depends on correct pad pairing, proper temperature management, and installation accuracy. They are not a universal answer for every vehicle or driving pattern. A daily-driven vehicle in cold, low-load service may need a pad compound selected for low-temperature response, while track use prioritizes thermal stability and repeatability.
Treat the Road Test as a Final Inspection
The first road test should be deliberate, not aggressive. Start with low-speed brake applications, check pedal feel and tracking, then build load gradually. Listen for abnormal scraping, clicking, pull, vibration, or a pedal that changes character after several stops. Reinspect wheel fasteners, brake lines, fittings, and caliper hardware after the initial heat cycle when the installation instructions require it.
For performance workshops and distributors, installation documentation is part of the product value. Record the application, component part numbers, fluid used, torque verification, wheel-clearance result, and bedding guidance provided to the customer. That discipline supports warranty handling, repeatable quality, and safer service outcomes.
CCYS develops complete carbon ceramic braking solutions with 90% of production controlled in-house, supported by IATF 16949 and ISO 9001 quality systems. The purpose is not simply to fit larger calipers behind a wheel. It is to deliver a matched, thermal-resistant braking system with the consistency demanded by serious road and track use.
When the pedal is the final line between speed and consequence, installation quality deserves the same attention as the hardware itself. Verify every interface, follow the application-specific procedure, and release the vehicle only when its braking response is as controlled as its performance demands.